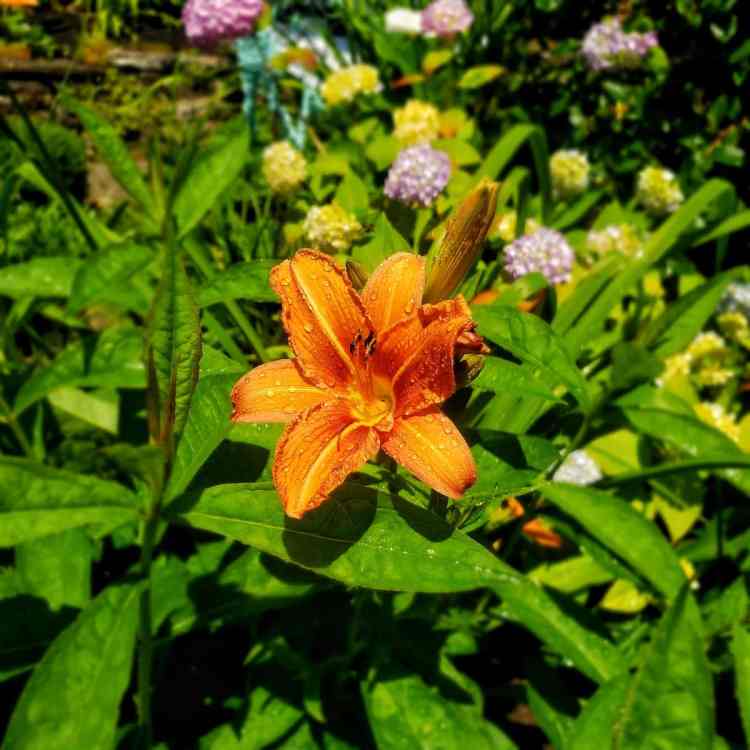
Daylilies are always one of the most dramatic and one of the most remarkable denizens of the garden, but like other flowers, the way daylilies are planted will have a strong impact on how they grow and thrive. It is important to understand the needs of these remarkable flowers in order to get the most vibrant and long lasting blooms.
Growing Conditions for Daylilies
One thing that gardeners will need to know is that daylilies are true sun loving plants. In order to grow and bloom their best, these sun loving flowers will need to get at least half a day of full sunlight every day.

It is important, therefore, for gardeners to choose the spot where the daylily will be planted carefully, and to ensure that plenty of sunlight will be available throughout the growing season. Daylilies can tolerate some filtered shade, but it is still important that they receive at least half a day of full sunlight every day.
Selecting Daylilies
When choosing daylilies in the nursery, it is important to carefully examine their condition and to reject any plants that show sings of disease or damage. Most daylilies will be shipped as bare root plants, and it is important to ensure that the plants have not been damaged in shipment.
Planting Daylilies
After the plants have been evaluated, and the best plants chosen, it is time to get ready for planting. Planting the daylily is typically a straightforward affair, beginning of course with the digging of the hole. As with other plants, it is important to dig a hole larger than the roots of the plant, and after the hole has been dug, a mound of dirt should be placed in the bottom of the hole.
Fertilizing Daylilies
The roots of the plant will be spread out over this mound of dirt, making sure not to damage the roots. Some gardeners will sprinkle a touch of fertilizer around the mound before setting the plant in the hole, while others prefer to skip this step.
No matter what the choice when it comes to fertilization, the planting depth should be no greater than one inch above the point where the foliage meets the roots. After the proper planting depth has been achieved, the hole should be filled with dirt.
When filling the hole, be sure that there are no air pockets, and water the newly planted daylily thoroughly to get those beautiful flowers off to a great start.
Want to learn more about growing daylilies?
University of Minnesota Extension covers Growing Daylilies
University of Vermont Extension covers Growing Daylilies